
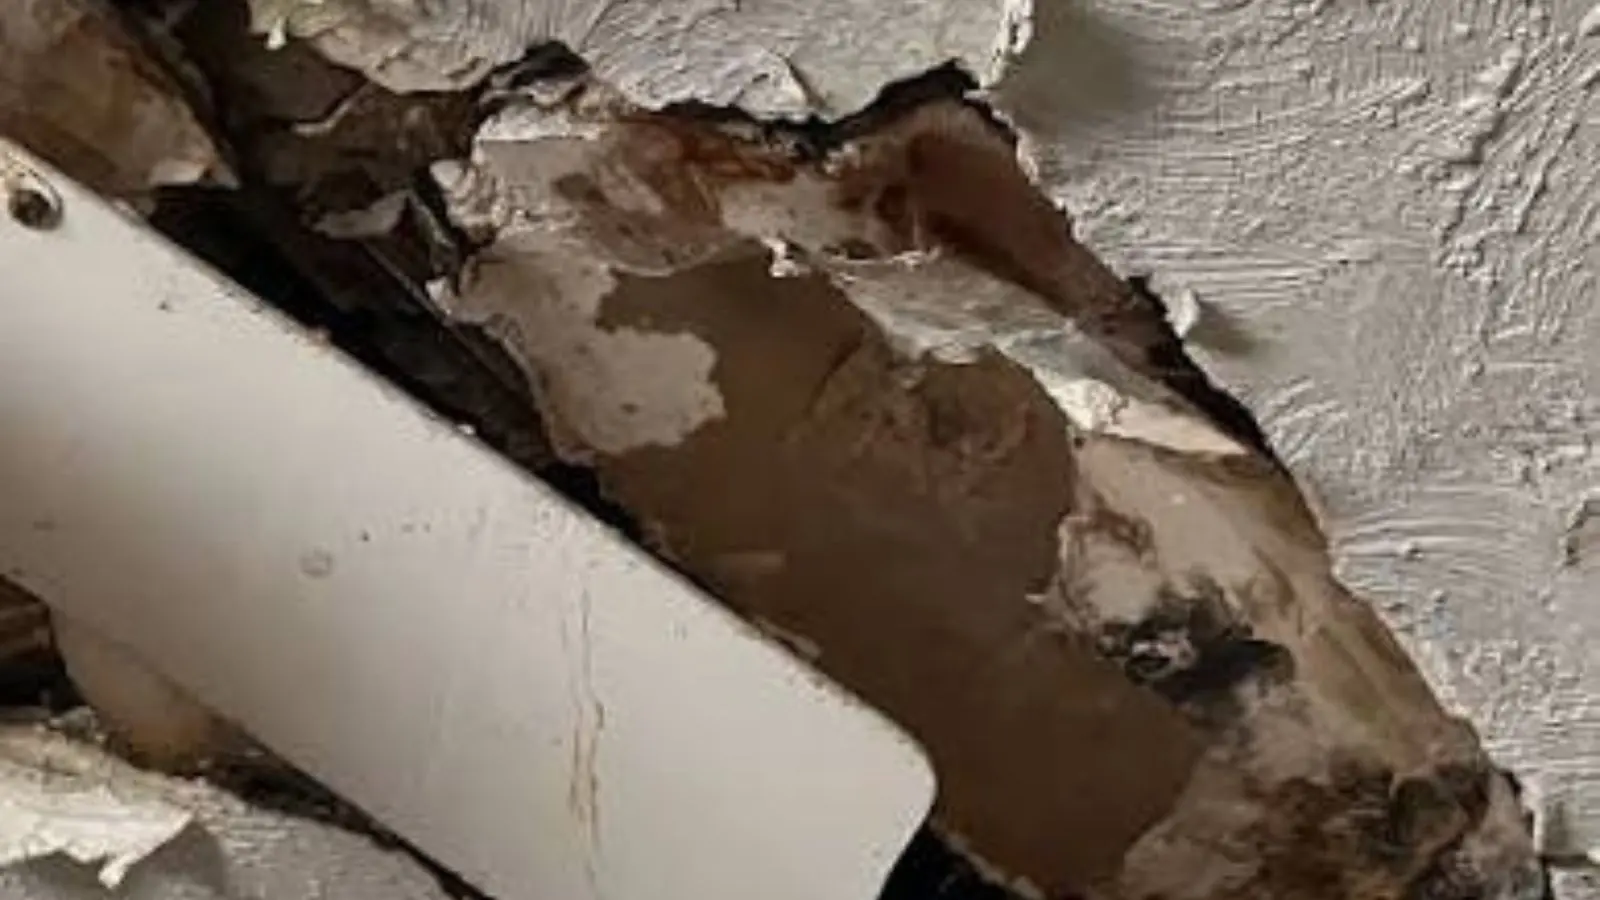
Repairing a ceiling from water damage in Evergreen, CO means cutting out the weakened drywall, patching the hole, sealing the stain and refinishing the surface once the source is fixed and everything above is dry. It is within reach for a careful homeowner when the damage is small, the board is only stained or lightly softened, and the water was clean.
It is not the right job when the ceiling is large, sagging, wet from a drain, or still damp. This guide walks through the DIY sequence and marks the points where a professional crew makes more sense.
Before you pick up a tool
Two conditions must be true before any repair begins. The leak must be completely stopped, and the area must be dry. A patch on a damp ceiling fails, and it can hide trouble that grows behind the new paint.
The Colorado Division of Insurance advises homeowners to take steps to prevent further damage but to get the insurer's instructions before making repairs. Photograph the stain, the source and any materials you remove. If you plan to file a claim, hold off cutting anything out until you have talked to your insurer, since adjusters often want to see the damage first.
Tools and materials
Gather everything first so you are not climbing up and down a ladder.
- A moisture meter (pin or pinless) and a flashlight
- Utility knife or drywall saw, and a drywall T-square
- Replacement drywall in the ceiling thickness, usually half or five-eighths inch
- Joint compound, paper or mesh tape, a taping knife and a sanding block
- Stain-blocking primer, ceiling paint and a roller with an extension pole
- Texture material to match your ceiling, and a hopper or spray can
- Dust mask or respirator, safety glasses, gloves and plastic sheeting
Safety rules for working overhead
Work overhead is tiring and awkward, and these rules matter more than any technique. Switch off power to the room at the breaker, even if you only plan to cut near a fixture. Use a stable ladder or small scaffold rather than a chair, and have someone nearby when you cut.
Wear eye protection, because dust and old insulation fall straight down. Older ceilings can contain materials that should not be disturbed, such as old texture, so if your home is older, ask a qualified professional about testing before sanding or scraping. Do not cut into a ceiling near wires or pipes without checking above the line first.
Stop and call a professional if
- The ceiling is sagging, bulging or still dripping.
- The water came from a toilet, drain, sewer or other dirty source.
- The damaged area is larger than a few feet across or spans a seam, light fixture or vent.
- Moisture readings stay high after several days of drying.
- You see mold-like growth, smell mustiness, or the area is larger than about 10 square feet. EPA homeowner guidance says larger or hidden areas call for a professional.
The repair, step by step
Confirm it is dry
Take readings across the stain and several feet beyond it, then compare to a dry spot elsewhere. Wait a few extra days if the numbers are higher, since framing dries slower than paint.
Mark and cut out the damage
Outline a rectangle around everything soft or stained. Cut with a drywall saw, and stop if you hit wiring or find wet insulation behind it.
Check the cavity
Look above the opening with a flashlight. Wet or matted insulation comes out, and framing should read dry on the meter before any new board goes in.
Add backing
If the cut edge does not land on a joist, screw scrap lumber or drywall clips inside the hole so the new piece has something to bite into.
Fit the patch
Cut drywall to size, set it in and drive screws just below the surface into joists or backing.
Tape and mud
Cover the seams with tape and a thin coat of joint compound. Let it dry, then add two more coats, feathering each wider than the last.
Sand smooth
Use a damp sponge or a sanding block with a dust mask on. Wipe off the powder before priming.
Prime with stain blocker
Two coats on the patch and any visible stain. Plain latex paint will not hold back brown tannin stains.
Match the texture
Spray or dab on texture and let it set, following the pattern around it.
Paint the whole ceiling
Roll one even coat of ceiling paint from wall to wall so the repair does not show as a patch.
Why the wait matters more than the technique
Most patched ceilings that fail do so because the cavity was still damp. Wood and insulation hold water longer than paint does, so a ceiling can seem dry to the touch and still read high on a meter. If you do not own one, a rental or a small pinless meter is worth the cost.
The reading itself matters less than the trend. Take a reading at the same spots on consecutive days. Falling numbers that settle near a dry reference mean you can proceed, and flat or rising numbers mean there is still a source.
Common mistakes
A few errors show up again and again on DIY ceiling jobs, and each is easy to avoid.
Painting before priming is the most common. The brown stain bleeds through ordinary paint and returns within weeks. Another is making the patch too small, leaving damp board at the edges, which then fails later. Cut out past the last soft spot, not up to it.
Skipping the whole-ceiling coat is the last. A freshly painted patch on an old ceiling stands out in raking light, so painting wall to wall hides the join. Keep texture thin, since a thick glob reads as a mistake from across the room.
Where DIY ends
A patch is an appropriate job for a person with basic tools and a free weekend. Anything involving wet insulation across a large area, drying the framing, or a ceiling of several rooms usually calls for equipment homeowners do not own. Air movers, LGR dehumidifiers and thermal imaging are the difference between a ceiling that is dry and one that merely looks dry.
For that scale of work, the water damage cleanup service handles removal and drying, and the rebuild afterwards is covered by water damage repair. Ask whoever you hire to work to the ANSI/IICRC S500 standard and to show you moisture readings before closing the ceiling.
Repair notes for Evergreen and the surrounding hills
Evergreen sits at about 7,160 feet and gets roughly 80 inches of snow a year, so many leaks happen under a snow-loaded roof. If a leak happened during a freeze, give the framing extra time, since a cold attic dries slowly even when the room below feels fine.
Homes in canyon areas such as Idledale and higher-elevation areas such as Conifer may involve different access for crews and deliveries, so ask about access and plan materials and ladders in advance. For anything beyond painting, such as new wiring or mechanical changes, ask Jefferson County Building Safety at 303-271-8260 which permits apply to your address. They do not decide what is DIY safe, so ask before work starts.
Not sure the ceiling is ready to patch?
A call can help you decide whether to dry first, repair now or bring in a crew.
Frequently asked questions
How long should I wait before patching a ceiling?
Until readings are steady and match a dry area, which often means several days after the leak is fixed. Patching sooner risks sealing in moisture, and the repair will likely fail.
Can I use regular paint to cover the stain?
Not by itself. Use a stain-blocking primer first, then ceiling paint. Without it, the stain usually shows through again.
Do I need to check for insulation above the hole?
Yes. Wet insulation holds water against framing and new drywall, so remove and replace it before closing the ceiling.
Does Evergreen's cold weather change when I can repair?
It can. Joint compound and primer need reasonable room temperatures to cure, and a cold, snow-loaded attic dries slowly. With roughly 80 inches of snow a year, plan interior repairs for after the leak source and the roof edge are dealt with.